How did you use media technologies in the construction and research, planning and evaluation stages?
 The process of making a spell effect took me a while to do, but after I had done it a few times I was able to experiment with it and change colours as to how I wanted it; I then applied it to my composition and I had a spell. An example of this is shown in the GIF. For a typical spell, I would use a lens flare, a spell I had created or a stock footage spell and then I would layer different compnents such as duct hits and smoke to make it look more magical and to give the effect more depth. I then had to make out certain things, such as the wall and my arm so it looked like the spell was behind me rather than inforn of me. This also gave the spell effect more believability. I am quite happy with how the effetcs turned out in After Effects considering I have never done anything in After Effects before. I also believe that it has made a great impact on my film and has helped the film and genre come to life.
Photoshop
I was quite familiar with Adobe Photoshop before making my film, and I felt quite confident with using it. I made all of my posters (my main theatrical poster and two teaser posters) for my film on Photoshop. I learned how to make my posters look much more cinematic, I did this by using a blur effect called 'motion blur' and this allowed me to make my posters look much more cinematic (although I only used this effect on my teaser poster and not my main poster). I experimented with different designs for the main poster, one of which included a book as the main focus on the poster. The book was central to the poster in a portrait layout. The book had rays of light coming out of the pages to make it look more mmagical, but after a while of designing and altering the poster, I
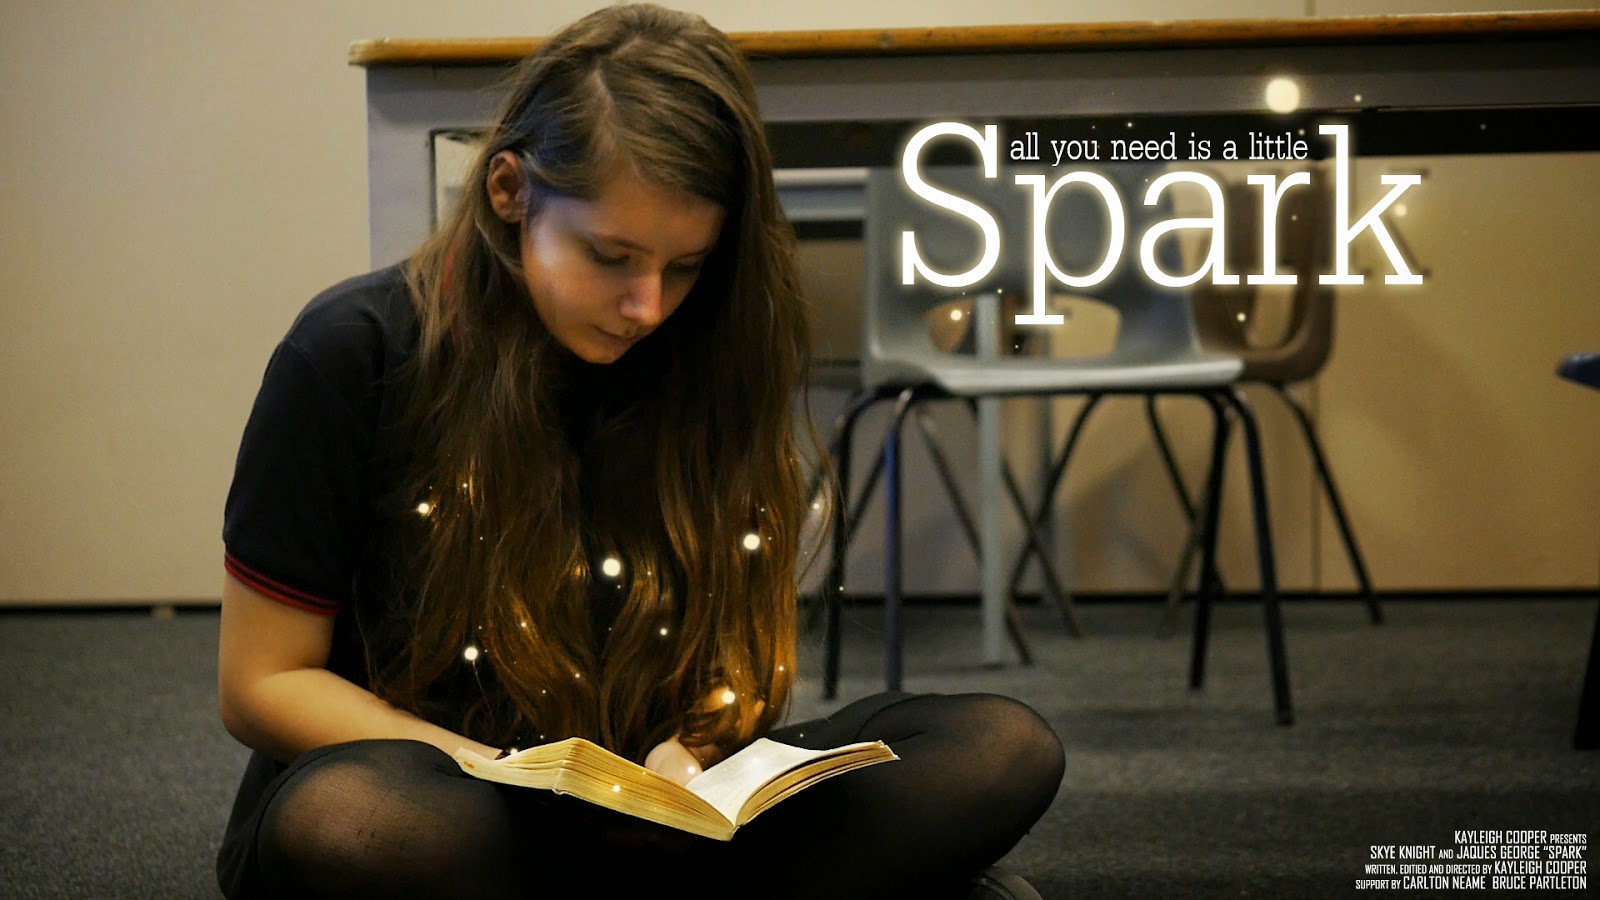 decided that it didn't look right and decided to take a screenshot from the film and use that for my poster instead. With the final poster, I experimented with how I could make this look magical and how it would link to my film without giving too much away. I finally decided that having the little balls of light coming from the book made the poster feel magical without giving too much of the plot of the film away. I looked at similar posters that were within the same fanatsy genre and they all had some
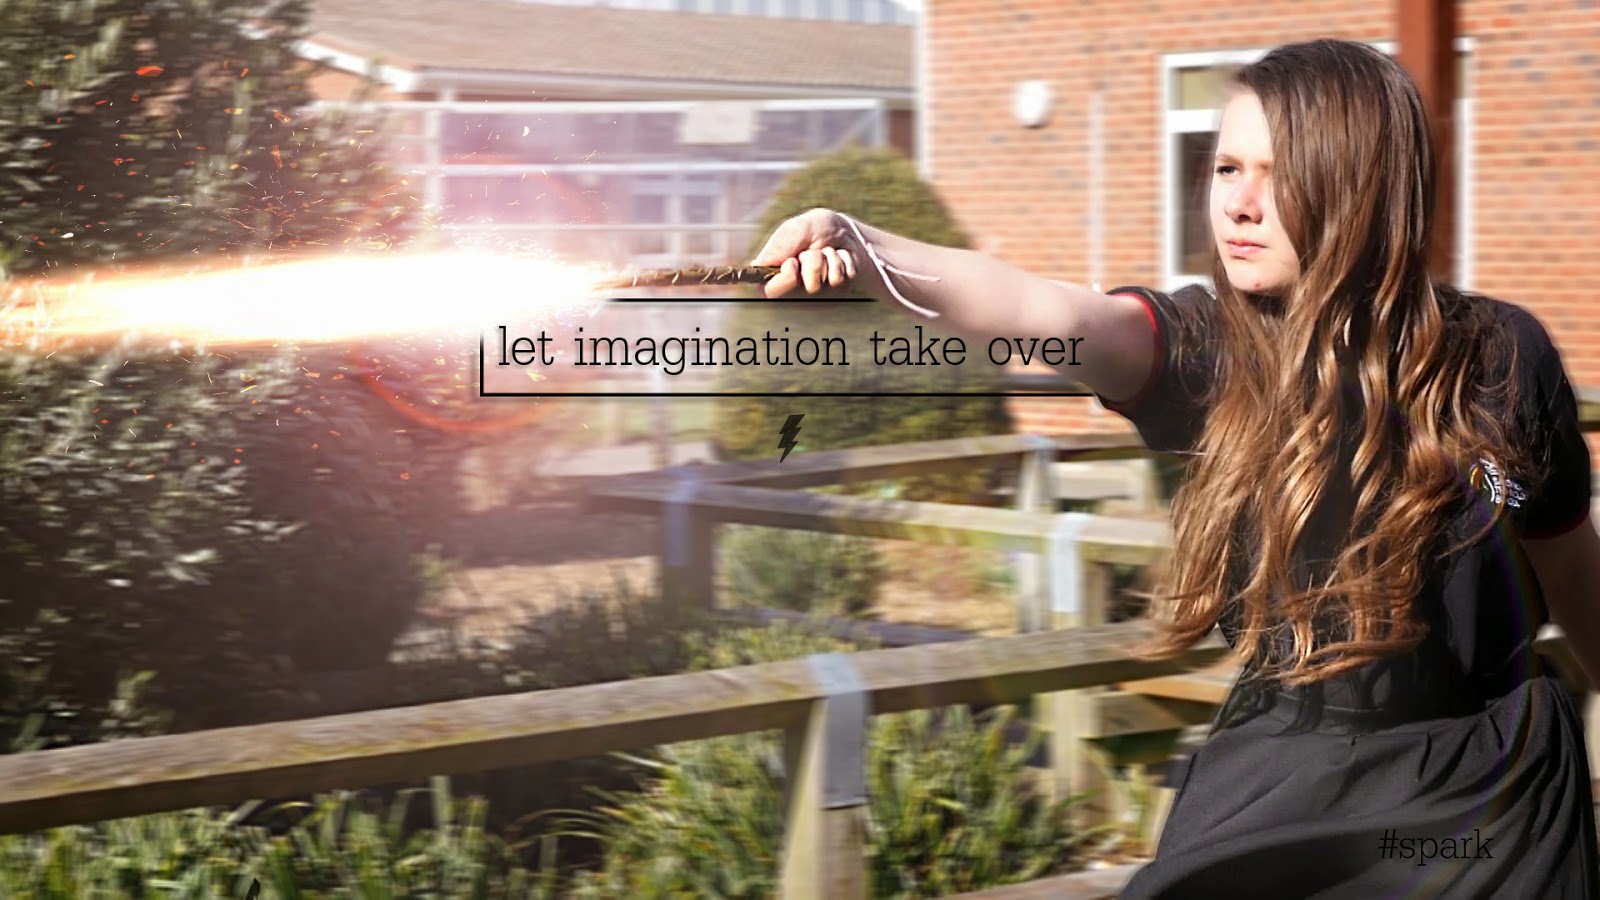 sort of magical and fantastical element to it. The credits for my film are located in the bottom right hand corner of the film poster. Most cinematic film posters have this central along with the title, but I felt that this wasn't a good place to have my title as it would have covered the book, which is what I wanted the audience to focus on.
Premiere Pro
I was very familiar with using Adobe Premiere when I was making my film, so I knew the basics of the program. By making this film, it allowed my to exersize my skills and to be more familiar with the program. When making this film, it also allowed my to understand the different exporting options available to me and what the best exporting option was for my film. Premiere allowed me to figure out where I wanted my clips to be and really helped with how I wanted to structure my film. Having used Premiere before, I knew all the basics, but this time I played around with some of the 'in-house' effects that are within the Premiere program, such as Warp Stabiliser and many other presets, video tansitions, video effects, audio transitions and audio effects. The use of Warp Stabiliser allowed me to correct an unstable shot if it was a little bit wobbly. I didn't use many video transitions within my film as many of the transitions were cut hard/sharp cuts to black, which I thought were very effective for the narrative and plot.
No comments:
Post a Comment